
Content may contain affiliate links. When you shop the links, we receive a small commission at no cost to you. Thanks for supporting my small business.
My kids have been wanting a 3D Printer for a long time. When we visit our nearest Microcenter, they somehow are attracted near the back where they see spindles of plastic feeder food and the various machines that are available on the market, but mainly for adults. However, after scrolling through Facebook a few times and using the words “3D printer”, I somehow got an ad for Toybox. Now, generally, I’m a little skeptical on anything that runs as an ad. But for Christmas, I decided to suprise my kdis with the machine because the ad was quite convincing.
Table of Contents

Toybox was positioned as a kid-friendly 3D printer that would allow them to easily print any premade design and make their own design. Having a nine year old and ten year old, fourth grade and fifth grade respectively, I knew it would be a great gift, but I didn’t know if they would actually understand how to create designs from it.
We purchased the bundle kit that comes with the various “food”, which are the spindles of plastic that come with the actual machine itself. It cost a little more, but I wanted to make sure that we had what we needed to set up and play with it that day.

I’m going to share with you my impressions, but this won’t be a technical deep dive. There are plenty of YouTube videos and in-depth reviews out there that you can checkout. I wanted to give this perspective from a parent who knows nothing about 3D printers, talk about the ease (or complications) of the experience of setting it up, and what my recommendation is for Toybox for young kids.

Purchase
We purchased the Toybox Deluxe Bundle that included 7 different colors. With shipping, the entire total was $329.29 (in 2021).

First Impressions
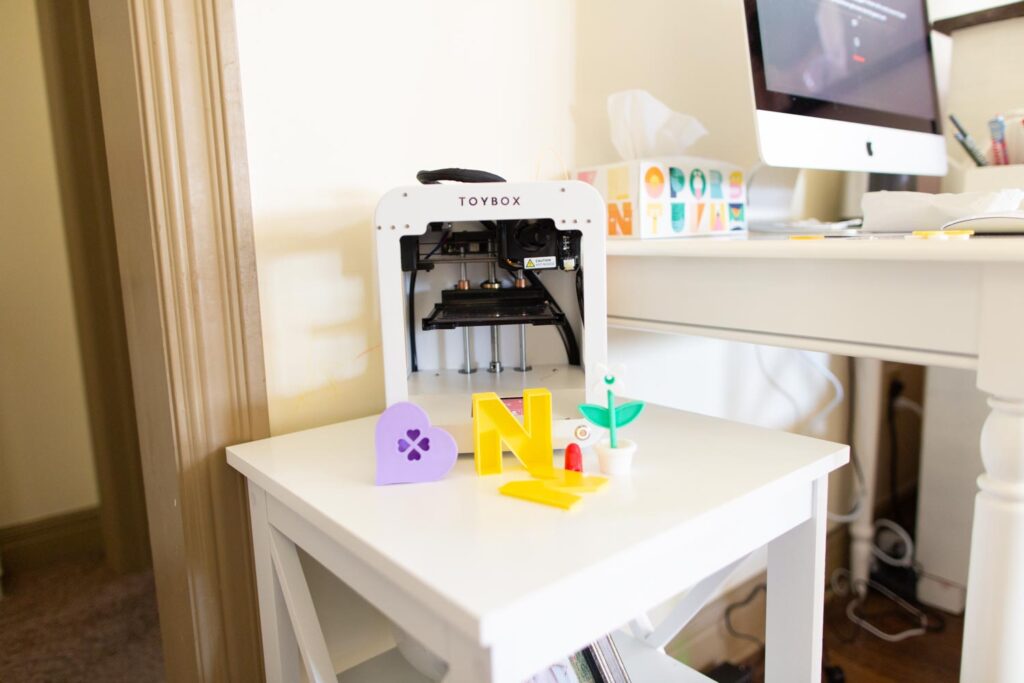
When the box arrived, it was neatly packaged. The machine seemed smaller in person than in the videos. I didn’t mind because I didn’t want a giant machine. We have the family computer in our living room, so I didn’t want something obnoxious in that space. So, it turned out to be great that it was smaller than what I thought.
The packaging was impeccable.

Setup of the Toybox
After watching a few YouTube videos on Toybox (this one was my favorite for tips and tricks), I decided to unbox it. That video pretty much told me everything I needed to know.

The machine literally had a power plug the plastic spindle for the food. That’s pretty much it. Super simple. Anyone can do it.

Here’s the location of the power button:

Application and Software for Toybox
Initially, we used our iPhone app to download the software. What was NOT as intuitive was the link that you could use for their desktop web-based application. Make sure you sign up with a login so you can save your designs.
We have an iMac that is setup for the kids to use. For desktop, they have an online web-based version of the application in which you do not need to install an application for, which is great. The link is: make.toys/toys, so make sure you bookmark that in the browser bookmark tool bar for your kids.
Premade Designs for Toybox
Toybox has a huge catalog of premade items that kids can make, which is absolutely amazing if you are making your first project. My kids made a pinecone cup holder, Yoda, and so many more designs on the FIRST day.
Feeding the Printer Food on Toybox
This was probably the least intuitive part. You have to make sure that the printer is set to warm up first, and only then can you feed in the food through the hole on top. Getting it heated up takes a few minutes, so you’ll want to be patient as this happens and get the rolls at least readyt to feed.

Designing on Toybox
While the kids didn’t do designs, they actually had a Grandpa who was into this stuff. Grandpa designed something on the Toybox app and sent them a link to print it out, which is pretty cool.
I think this will be the next part of their learning process: designing their own 3D objects for printing on Toybox. Since grandpa did it without even having a machine, I’m sure they can figure it out too.

Printing Designs on Toybox
We didn’t have any connection issues once we figured out the browser for Toybox. We preferred printing from the browser over the app because it was easier to understand via the interface.
Each of the designs generally took around 45 minutes to 2 hours to complete, so the machine also teaches the kids patience.

Taking Out Design
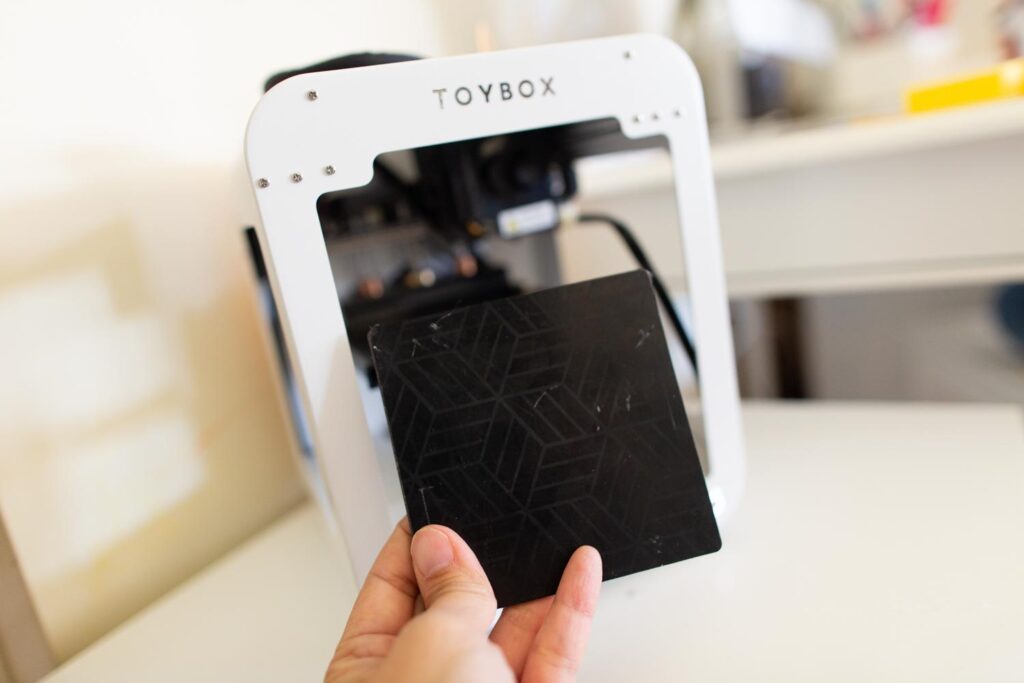
Once the design is complete, the app will notify you when it’s done, which is pretty nifty. Toybox comes with a magnetic plastic tray that slides in and out to remove the design. It also is flexible enough for you to bend it so you can take the design out.
Overall Thoughts
For my nine and ten year old, I thought it was the perfect age to introduce them to this machine. For my six year old son, I think it was a bit over his head to be able to use the machine himself. I also don’t trust him to ensure that he uses the machine correctly without supervision and potentially burning himself.

More 3D Printing Inspiration for Kids
- Why 3D Printers Make Great Gifts for Kids
- Parents Guide to 3D Printers for Kids
- Affordable 3D Printer for Kids Roundup Guide
- ToyBox 3D Printer for Kids – Honest Review
- Small Business Ideas for Kids with 3D Printers
- Useful Things Kids Can Make with 3D Printer
- 3D Printer Toys for Kids
- Why to Not Get 3D Printer for Kids
- Top 3D Accessories for Kids
- Show and Tell Ideas for Kids with 3D Printers
Overall, if you have a fourth or fifth grader, I would highly recommend the Toybox knowing that the designs will be smaller (like the size of your hand or a coffee cup). It will teach them smaller engineering skills like designing, prototyping, and providing them immense self-confidence in creating something on their own.


